Work Lights
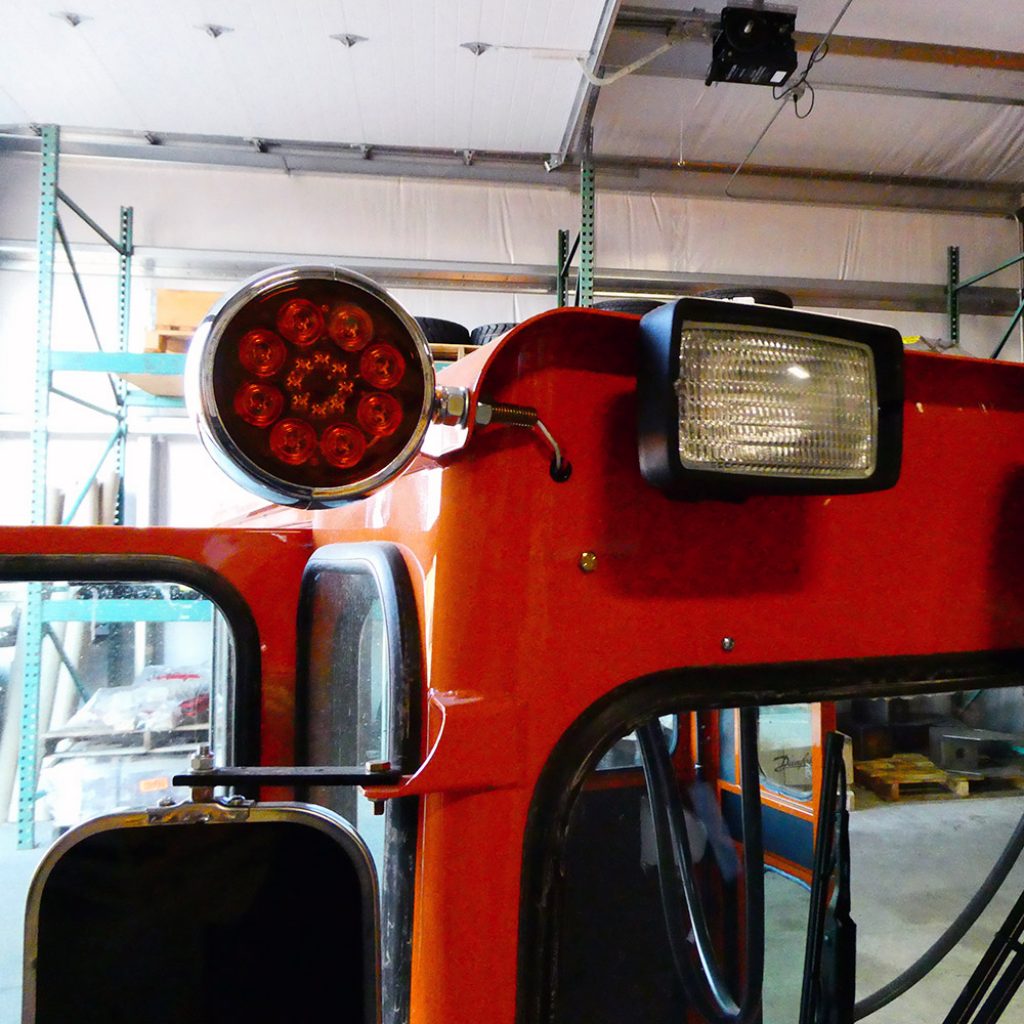
4496 Led Work Lights Front and Rear
4498 Work Lights Front & Rear
4498 Halogen Work Lights Front & Rear
Kits include switches and lights
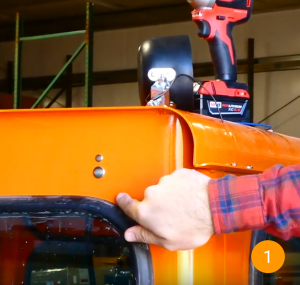
1. With your work lights you have two sets, the side and the rear. If you go to the back of your cab, you will see the pre-drilled holes at the top right and left sides of the cab for the lights.
Note: Side lights will use the blue wires and the back lights will use the gray wire.
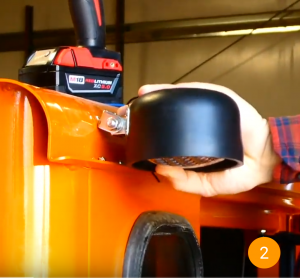
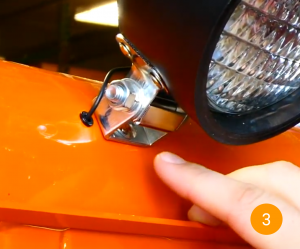
2. For this how-to, we will be working with the side lights. Starting with your side light, unscrew and remove the nuts on it and insert the light into the hole on the side of the cab. You’ll need to reach inside to finish tightening it up.
3. Push the bushing into the available hole next to the light. Then take the wire, make sure it’s stripped, and push it through the hole.
Note: Make sure bushing is flush against the cab to avoid any chafing of the wires.
4. Repeat the same steps for the lights on the back of the cab if you are installing them.
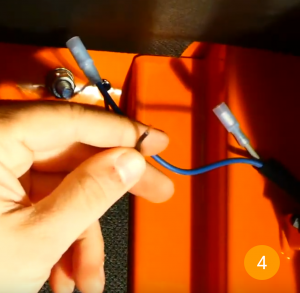
5. Now you will move inside the cab. Take the black wire that’s coming from the light and attach the end to it and crimp it tight.
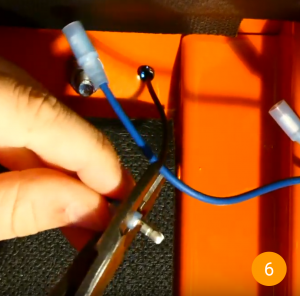
6. Once the end is attached, plug it into the blue wire. You’ll then repeat the same step for the back light. Take that end and plug it into the gray wire.
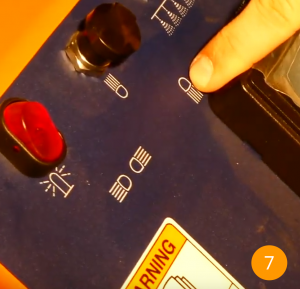
7. Next, you will attach the switch inside the front of the cab. You’ll see on the dash a set of symbols. The two lights pictured are for the side lights and the single light is for the rear light. For the side light, cut a whole through where the two light symbols are.
8. Open up the side panel and then install the switch through the hole and then complete the wiring.
Steps for internal wiring in control panel
9. Inside the dash, you will see two hanging wires, one gray and one blue. For the side lights, you will use the blue wire and rear lights the gray.
10. Attach the hanging blue wire to your switch on one of the points. Then take the extra blue wire that came with your kit and attach it to the other point.
11. Take the free end of the loose wire and
attach it to the fuse box. Use the 15 slot for the rear lights and 16 slot for the side lights.
12. Close the side panel.
13. On the front of the fuse box, plug in the 10amp fuse into your 16 slot for the side lights or in the 15 slot for the rear lights.
