Pressurized Cab Filter
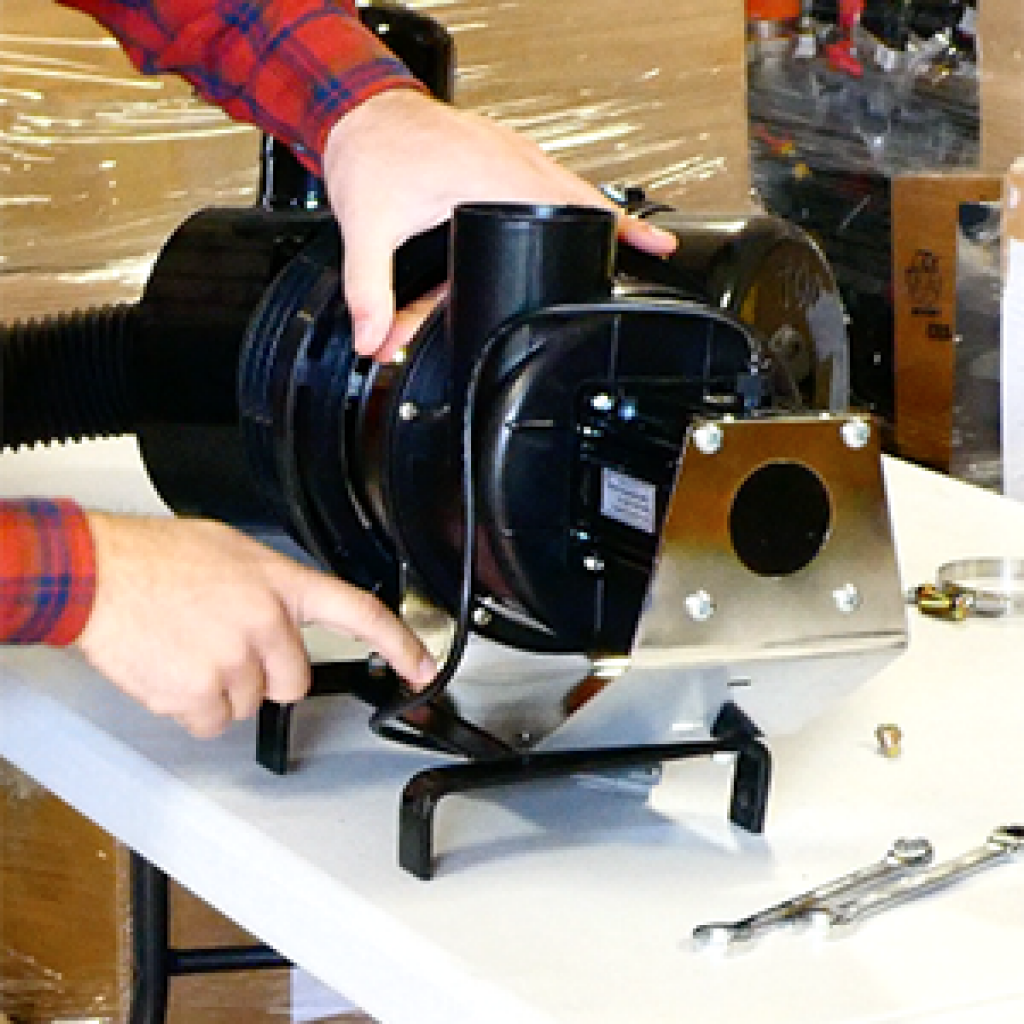
Kit #K00037
Standard filter #304121
HEPA filter #304122
Your Broce Broom comes with a standard filter. This how-to shows you how to change it and install a pressurized cab filter.
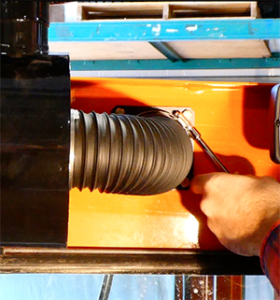
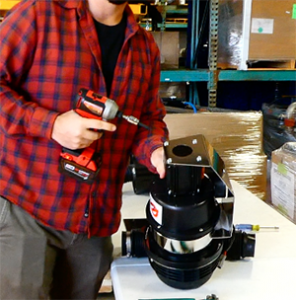
1. Start by removing the filter from the front of the broom.
2. You’ll want to remove the hose clamp first.
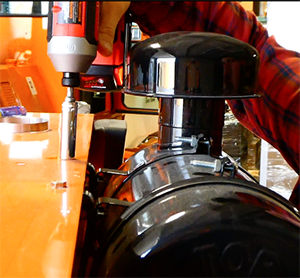
3. After you’ve removed the hose clamp, while stabilizing the filter, remove the two screws located at the top.
4. Once the filter is off, you can start prepping the new pressurized filter to be installed onto the cab.
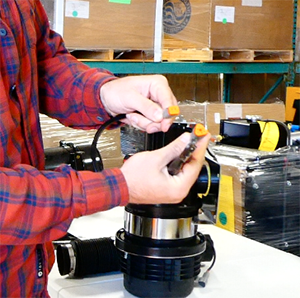
5. Your new cab filter comes with the filter itself and the wires needed. You will need to change out the end of the wire provided.
6. The wire has two ends. One end is shaped like a triangle and one is shaped like a
rectangle. Clip the rectangle end off.
7. Next pull the plastic covering out from that end about 3 inches and cut that off. When you slide it back down in place, the end wires will be exposed.
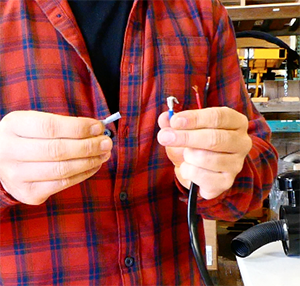
8. Strip the ends of the wires.
9. Grab the two ends that come in your kit. One is grey and the other is blue. They blue end goes on the red wire and the grey end goes on the black wire.
10. Once you’ve prepped your wires you can prep your new filter.
11. The filter attachment needs to be rotated 180 degrees to the other side of the
pressurized filter. Start by removing the 4 screws located on the top. Next, loosen the screws on the clamp around the middle of the filter. Then rotate the silver assembly around. You can then put the 4 screws back on the top and tighten the screws back on the clamp.
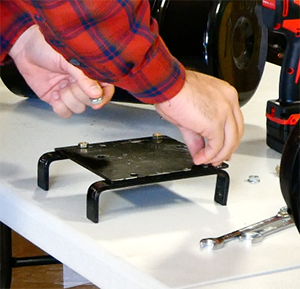
12. You now need to switch the mounting piece from the old filter to the new one. There are two brackets with 4 screws that need to be removed.
13. Take the plate that was included in your kit and lay it over the two brackets. You’ll want to attach the brackets to that plate. There are 6 holes in the plate. You are only going to use the 4 outside holes for this install. Leave the bottom or 4th screw off for now.
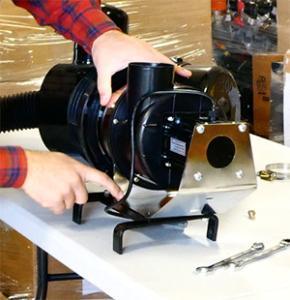
14. Now set the new filter onto the plate. Your new filter has 3 bolt holes that are going to go into the middle two on the plate and the far right hole that we left open. Attach
everything. There should be a total of 6 bolts to attach the plate to the new filter.
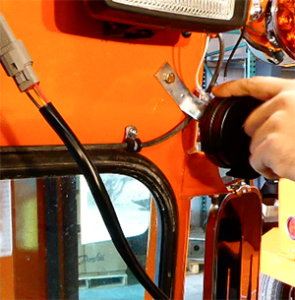
15. You’re now going to mount the filter back onto the broom the same way you took it off. It is ideally a job for 2 people but with time, one person can get it attached.
16. Once attached, you’ll need to connect the hosing back together and the wiring.
17. For the wiring, the triangle end should fit back into where you removed it from. Then take the modified end and come over behind the horn and unplug the white wire. Also
remove the nut on the black wire which is where you will ground it to.
18. Now plug the red wire into where the white one was. Then put the white one back one. Next take the black wire and put it in the ground spot and reattach the screw.
19. After everything is attached, it’s a good idea to take any loose wires and zip tie them up so that they are out of the way. Best place is to tuck it in between the filter and the hose.
20. Lastly, install a 25 amp fuse into position #9 in the fuse box which is located in the cab.
